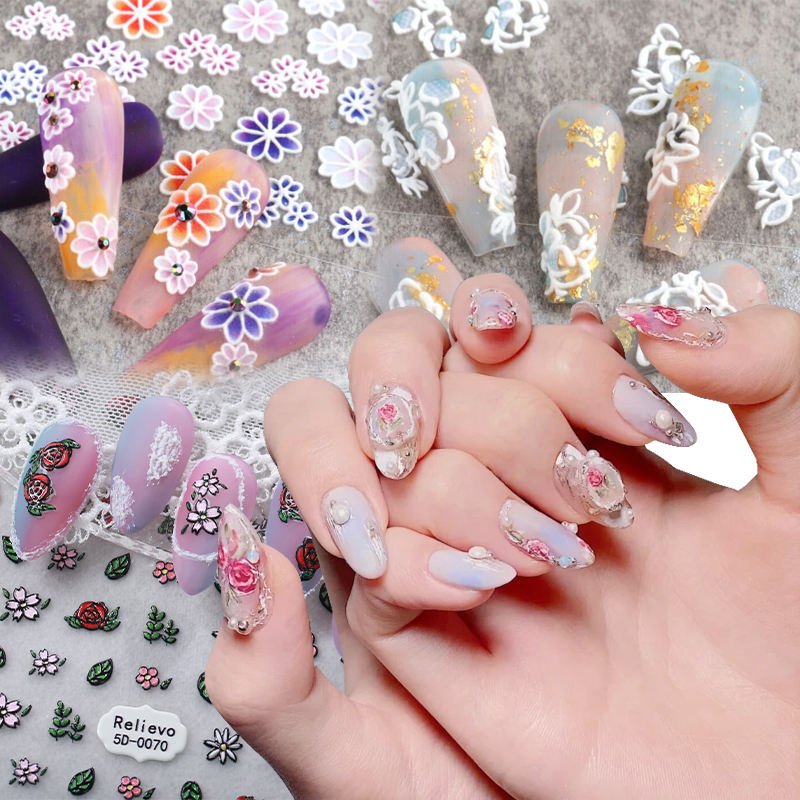
Looking for a fun and easy way to upgrade your manicure? Why not try making your own nail art decals! Not only is it a great way to unleash your creativity, but it’s also a budget-friendly alternative to salon manicures.
To make your own nail art decals, all you need are a few simple materials: clear adhesive sheets, nail polish in your favorite colors, and a pair of scissors. Start by painting your desired designs onto the adhesive sheets using the nail polish. Once dry, carefully cut out the shapes using the scissors, making sure to leave a small border around each design.
Now comes the fun part – applying your homemade nail art decals! Simply peel off the backing paper, place the decal onto your nail, and press down gently to secure it in place. Finish with a layer of clear topcoat to seal the design and add shine.
The best thing about DIY nail art decals is that the possibilities are endless. Whether you’re into intricate patterns, bold graphics, or simple shapes, you can create custom designs that reflect your personal style. Plus, making your own decals allows you to experiment with different colors and techniques until you find the perfect look.
So why wait? Get creative and start making your own nail art decals today. Your nails will thank you!
